• Skip to primary navigation
  • Skip to main content
  • Skip to primary sidebar
  • Home
    • About
      • Privacy Policy
  • Free Crochet Patterns
    • Crochet Patterns
  • Youtube
    • Tutorials
  • Recipes
  • Chemo Caps
  • Yarn Reviews

Krissys Over The Mountain Crochet

And Crafts

DIY A Beautiful Storage Bin

It is so easy to DIY a beautiful storage box or bin. Cover it with fabric and then embellish with fussy cut appliques. You can use a collapsible storage bin or an ordinary box to beautify your home, or to make a lovely gift box. Adding leather handles is a beautiful option as well. Let me show you how.

I sometimes use affiliate links in my posts. This won’t cost you anything, but will help offset the cost of yarn and other supplies needed, so that I can continue bringing you crochet patterns and craft ideas. Thank you so much for your support.
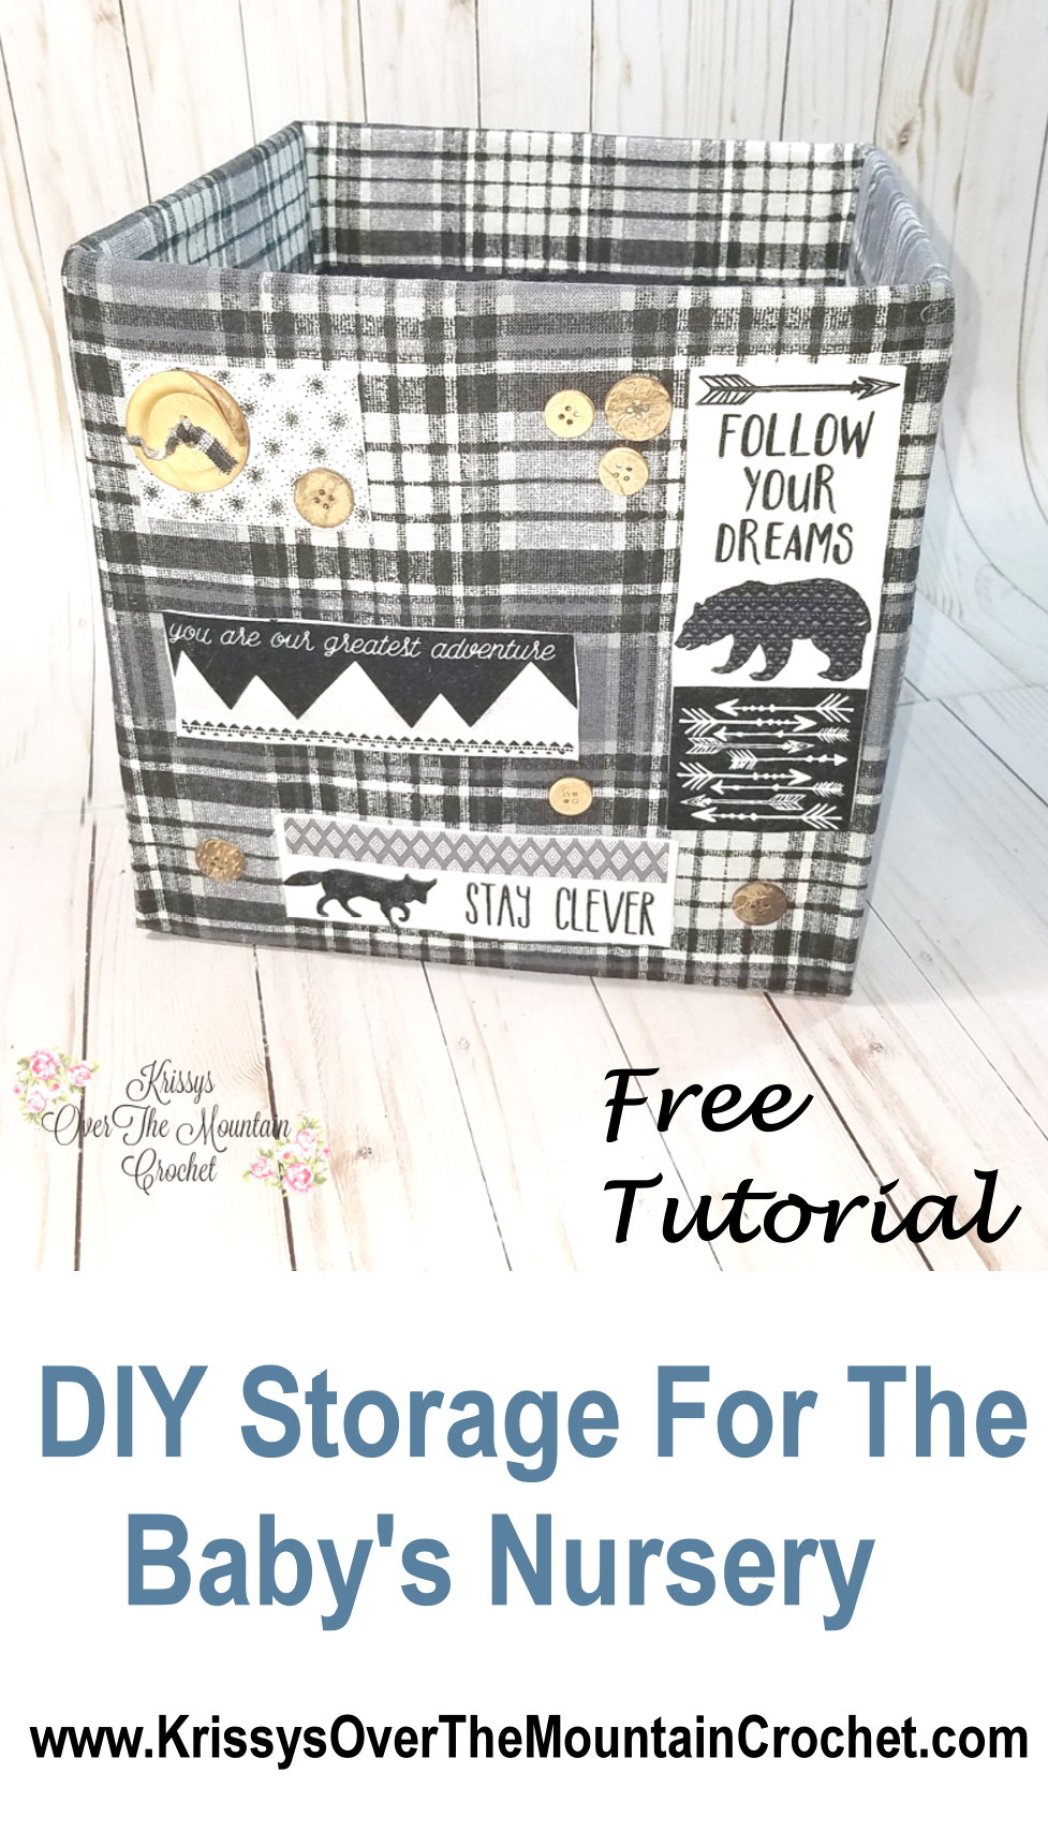
It's so easy to customize your storage, using this easy and fast DIY method. Let me show you how.
A beautiful storage box that is a wonderful to display in a baby boys room, or to use as a gift box at a baby shower.


Measure all four sides with a 3″ drop to the inside.

If using a 10.5″ storage bin like the one used in the video, you will need two pieces of fabric that are 16″ wide and 38″ long.

To cover the storage bin, prepare the fabric pieces by folding and finger pressing 3″ in along the side of the fabric.

If using plaid fabric watch the video for tips on how to cut the fabric. 
Fold the fabric 3" in on each piece of fabric. This prepares it to be wrapped around the storage cube.

Place the bin in the very center of the fabric.

If using a plaid or one way fabric, pay close attention to the placement of the bin, so that the print on the fabric will match up the side. The video will help explain this step.
Place the storage cube in the center of the fabric piece.

Pull the fabric up the sides of the storage cube, folding the extra 3 inches to the inside and use clothespins to hold the fabric in place.


You can use clips or clothespins to hold the fabric in place, until the fabric can be glued in place.
Wrap the folded piece of fabric up the sides of the storage bin, and use clothespins to hold it in place. This is the last step before gluing the fabric. You are almost finished!
Watch the video to learn the “How To’s” on gluing.

Make sure to visit these links if you are looking for beautiful crochet patterns that will inspire you to make your world a lovely place. If you would like to see more crochet baskets or garments click the links below.


RAVELRY

PINTEREST is a fun place and I would love it if you would follow me there.

INSTAGRAM

Tell me if you grab a box or storage bin to add fabric.

Leave a Comment

SHARE:

Reader Interactions

I would love to hear from you! Tell me what you think? Cancel reply

This site uses Akismet to reduce spam. Learn how your comment data is processed.

Primary Sidebar

Hello! I am so glad you are here!

I am a happy mother of 5 children, and 4 grands. I live just “Over The Mountain” on a lovely, narrow country road in the Appalachian Mountains. Stay awhile, and we can talk about crochet , crafts and other things that are happening on "My Side of the Mountain".

Search

  • Email
  • Facebook
  • Instagram
  • Pinterest
  • YouTube

Featured Posts

Yarn Review of Caron Cotton Ripple Cakes


Follow Me On Instagram

[instagram-feed]

  • Home
  • Free Crochet Patterns
  • Youtube
  • Recipes
  • Chemo Caps
  • Yarn Reviews

Copyright © 2023 · Blog Design By Rhonda Jai Designs

Copyright © 2023 · Olivia Genesis Child WordPress Theme. on Genesis Framework · WordPress · Log in